7 Tips for Capturing Stunning Product Photography
Capturing stunning product photography requires a blend of creativity and technical skill. Here are 7 tips to elevate your product shots:
- Natural Lighting: Utilize natural light as much as possible. It creates a soft, pleasing effect on your products. Aim to shoot during the golden hour for the best results, when the light is warm and diffused.
- Background Choice: Opt for simple, clean backgrounds that make your product stand out. A white or muted background can help showcase your product without distractions. For more insights, check out this guide.
- Camera Settings: Familiarize yourself with your camera's settings. Use a low aperture to create a shallow depth of field, which blurs the background and draws attention to your product.
- Composition: Experiment with different angles and compositions. Use the rule of thirds to create a visually appealing layout that captivates your audience.
- Props and Context: Incorporate props that complement your product without overshadowing it. This adds context and helps potential buyers envision how to use the item.
- Post-Editing: Don’t skip post-processing. Use tools like Adobe Lightroom or Photoshop to enhance colors and correct any imperfections in your images.
- Experiment: Keep trying new techniques and styles. Product photography can be an art form, and experimentation might lead to your signature style.
The Ultimate Guide to Styling Your Products for Irresistible Visuals
In today's digital world, captivating product visuals are paramount for capturing the attention of potential customers. When styling your products for striking visual content, it is essential to consider key elements such as lighting, backgrounds, and props. Start by utilizing natural light whenever possible, as it creates an authentic look and enhances the details of your products. Additionally, choose backgrounds that complement your items without overwhelming them. For inspiration on effective lighting techniques, check out this guide on product photography that offers practical tips.
Once you've mastered the technical aspects, focus on creating a cohesive style that resonates with your brand's identity. This includes the use of colors and textures that align with your overall aesthetic. Consider incorporating props that tell a story about your product—whether it's using a rustic wooden table for handmade goods or sleek metallic accents for tech gadgets. For a deeper dive into creating visually appealing setups, refer to this insightful Shopify article on product styling. By implementing these strategies, you'll transform your product visuals from ordinary to irresistible, ultimately enhancing your online presence and boosting sales.
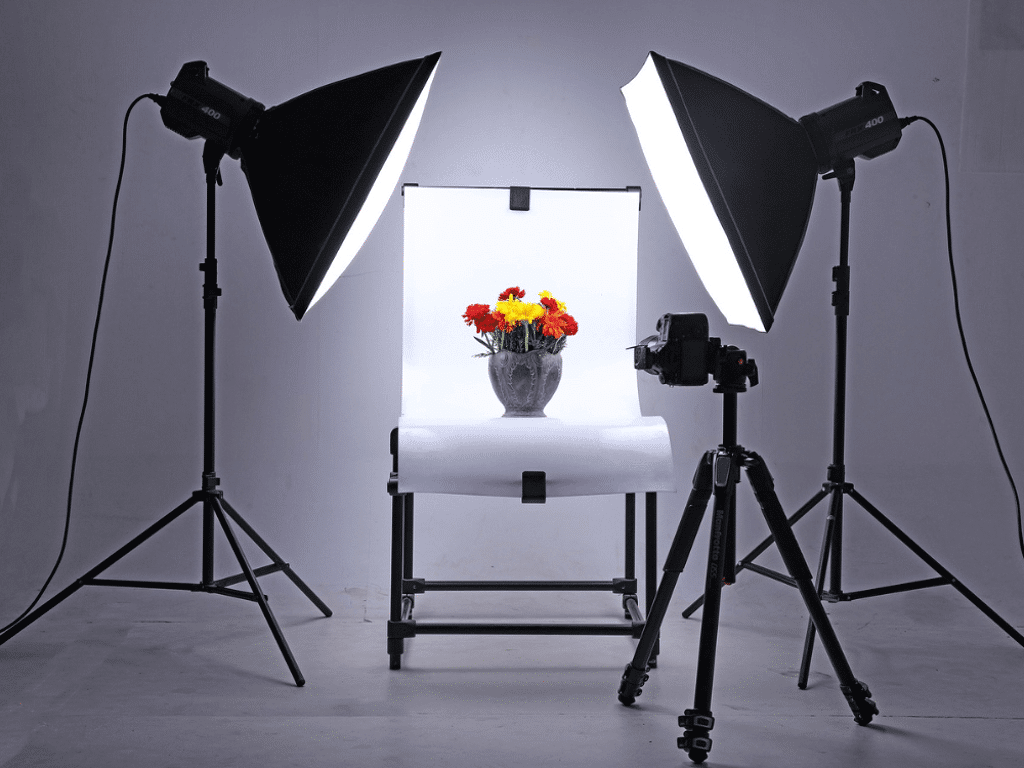
How to Choose the Right Lighting for Product Photography
When it comes to choosing the right lighting for product photography, the first step is to understand the different types of lighting available. Natural light, studio lighting, and continuous lighting each have their advantages and disadvantages. For instance, natural light can create soft, appealing images, but it is also unpredictable. On the other hand, studio lighting allows for greater control and consistency. Experimenting with various lighting setups can help you determine what works best for your specific products.
Once you’ve decided on the type of lighting, consider the color temperature and positioning of your lights. The ideal color temperature for product photography is typically around 5000K to 6000K, as it mimics daylight and ensures accurate color representation. Adjusting your light sources to avoid harsh shadows and highlights is also crucial. You can employ techniques such as diffusing light or using reflectors to achieve balanced illumination. Remember, the goal is to enhance your product's features, so take the time to test and tweak your lighting setup for the best results.